
Repairing Tile Floors After Water Damage: Grout & Subfloor
· Ethan Williams
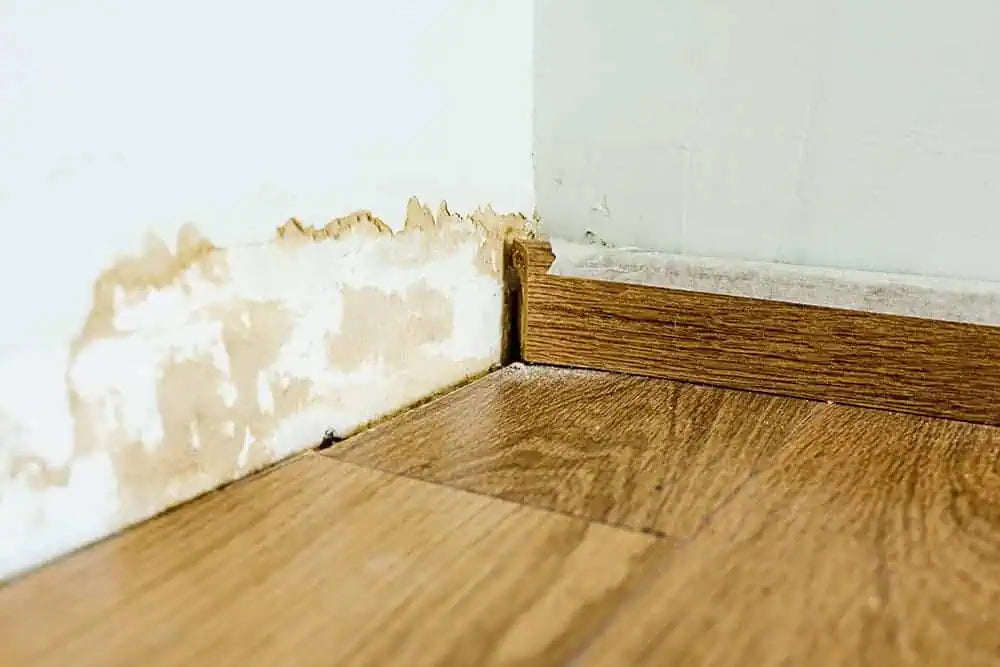
Tile flooring is known for its durability and water resistance, but when significant moisture or flooding occurs, even the toughest tiles can be compromised. Homeowners often face the challenge of restoring their floors after leaks, burst pipes, or flooding. Repairing tile floors after water damage involves more than just drying the surface; it requires a careful assessment of the grout, tiles, and subfloor to ensure long-term stability and prevent future issues.
Understanding the steps involved in this process can help you make informed decisions about whether to tackle repairs yourself or call in professionals. This article will walk through the signs of water-related damage, the impact on grout and subfloors, and the best practices for restoring your tile flooring to its original condition. If you’re dealing with other types of flooring, you may also find our guide on repairing water damaged hardwood floors helpful.
Recognizing Water Damage in Tile Flooring
Detecting moisture issues early is crucial for minimizing repair costs and preventing further deterioration. While tiles themselves are often water-resistant, the grout lines and subfloor beneath can be vulnerable. Here are some common signs that your tile floor may have suffered from excess moisture:
- Loose or hollow-sounding tiles: Water can break down the adhesive, causing tiles to detach from the subfloor.
- Cracked or crumbling grout: Persistent moisture weakens grout, leading to cracks or powdery residue.
- Discoloration or staining: Darkened grout lines or tiles may indicate water absorption or mold growth.
- Musty odors: A persistent damp smell often signals hidden moisture or mold beneath the surface.
- Warped or uneven tiles: Swelling of the subfloor can push tiles out of alignment.
For more information on identifying the early warning signs of moisture issues, refer to this comprehensive guide to recognizing water damage.

Assessing the Extent of the Problem
Before starting any repairs, it’s important to determine how much of your floor has been affected. Start by inspecting the visible surface, but remember that the real damage often lies beneath. Use these steps to evaluate the situation:
- Check for loose tiles by gently tapping on them. Hollow sounds may indicate separation from the subfloor.
- Inspect grout lines for cracks, gaps, or discoloration.
- Look for signs of mold or mildew around baseboards and under furniture.
- Lift a tile in an inconspicuous area to check the condition of the adhesive and subfloor. If the subfloor feels damp or soft, further drying and repairs are needed.
If you discover widespread damage or suspect mold, it’s best to consult a professional restoration service to ensure safe and thorough remediation.
Drying Out the Area
Proper drying is the foundation of any successful restoration. Skipping this step can lead to ongoing issues with mold, odors, and structural instability. Here’s how to dry out your tile floor and subfloor:
- Remove standing water using a wet/dry vacuum or mop.
- Increase ventilation by opening windows and running fans.
- Use dehumidifiers to lower humidity and speed up drying.
- Lift affected tiles and remove damaged grout to allow airflow to the subfloor.
- Monitor moisture levels with a moisture meter before proceeding with repairs.
Be patient—thorough drying can take several days, depending on the extent of the water exposure and the type of subfloor material.
Repairing Grout and Tiles After Moisture Exposure
Once the area is dry, focus on restoring the grout and any affected tiles. Damaged grout not only looks unsightly but also leaves your floor vulnerable to further water intrusion. Follow these steps for effective repairs:
- Remove loose or damaged grout using a grout saw or oscillating tool. Be careful not to chip the edges of the tiles.
- Clean the joints thoroughly to remove dust and debris.
- Mix new grout according to the manufacturer’s instructions. Choose a water-resistant or epoxy grout for added protection.
- Apply grout with a rubber float, pressing it firmly into the joints.
- Wipe away excess grout with a damp sponge before it dries on the tile surface.
- Allow grout to cure fully before exposing it to moisture.
- Seal the grout lines with a quality grout sealer to prevent future water penetration.
If any tiles are cracked or loose, remove and replace them using fresh adhesive. Ensure the subfloor beneath is solid and dry before reinstalling tiles.
Addressing Subfloor Issues After Water Damage
The subfloor is the hidden layer that supports your tile installation. Water can cause wood subfloors to swell, warp, or rot, while concrete subfloors may develop cracks or efflorescence. Here’s how to handle subfloor repairs:
- Inspect for softness or sagging: Press on the subfloor to check for sponginess, which indicates rot or delamination.
- Remove and replace damaged sections: Cut out any compromised wood or underlayment and install new, moisture-resistant material.
- Patch minor concrete cracks with a suitable filler before re-tiling.
- Apply a waterproof membrane over the repaired subfloor to add an extra layer of protection.
Only reinstall tiles once you’re confident the subfloor is completely dry and structurally sound. Skipping this step can lead to recurring problems and costly repairs down the line.
Preventing Future Water Damage to Tile Floors
Once your floor is restored, take proactive steps to minimize the risk of future moisture issues:
- Seal grout lines regularly to maintain water resistance.
- Fix leaks promptly in plumbing, appliances, or roofing.
- Use mats or rugs in high-risk areas such as kitchens and bathrooms.
- Maintain proper ventilation to reduce humidity and condensation.
- Inspect caulking around tubs, showers, and sinks, and replace as needed.
Regular maintenance and quick action at the first sign of trouble can help your tile floors last for decades.
Related Restoration Topics
If you’re dealing with water-related issues in other parts of your home, you may also want to explore our resources on repairing wood damage from water, repairing cabinets after water damage, repairing water damaged carpet, and repairing insulation after water damage. Each guide offers practical steps tailored to specific materials and situations.
Frequently Asked Questions
How do I know if my tile subfloor needs to be replaced after water exposure?
Check for signs such as sagging, softness, or a musty odor coming from beneath the tiles. If the subfloor feels spongy or shows visible mold, it’s best to remove and replace the affected sections before re-tiling.
Can I repair water-damaged grout myself, or should I hire a professional?
Minor grout repairs can often be handled as a DIY project if you’re comfortable with basic tools and materials. However, if you notice extensive damage, loose tiles, or underlying subfloor issues, consulting a professional ensures a thorough and lasting fix.
What’s the best way to prevent future water damage to my tile floors?
Regularly seal grout lines, address leaks quickly, and maintain good ventilation in moisture-prone areas. Using water-resistant grout and underlayment during installation also adds long-term protection.