
Repairing Insulation After Water Damage: Safety Guide
· Ethan Williams
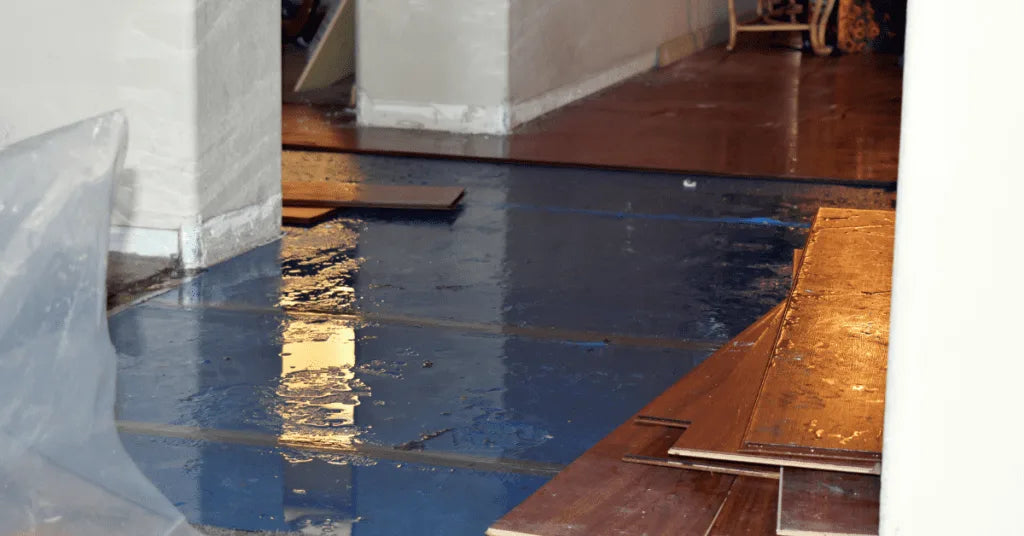
Water intrusion in your home can lead to a host of problems, but one area that often goes overlooked is the insulation hidden behind walls, ceilings, or under floors. Repairing insulation after water damage is crucial for maintaining a healthy indoor environment, preventing mold growth, and restoring energy efficiency. Whether the issue stems from a burst pipe, roof leak, or flooding, addressing wet insulation promptly and safely is essential.
This article provides a practical overview of how to assess, remove, and replace compromised insulation, while highlighting important safety precautions. If you’re also dealing with other affected materials, you may find our guides on repairing water damaged hardwood floors or repairing drywall after water damage helpful as well.
Understanding the Impact of Water on Insulation
When insulation becomes saturated, it loses its ability to regulate temperature and can become a breeding ground for mold and bacteria. The most common types of insulation affected by moisture include fiberglass batts, cellulose, and spray foam. Each material responds differently to water exposure:
- Fiberglass batts: While fiberglass itself does not absorb water, the air pockets between the fibers do. Prolonged dampness can cause the batts to slump and lose effectiveness.
- Cellulose insulation: Made from recycled paper, cellulose is highly absorbent and prone to mold if not dried quickly.
- Spray foam: Closed-cell spray foam is more resistant to water, but open-cell varieties can absorb moisture and require attention.
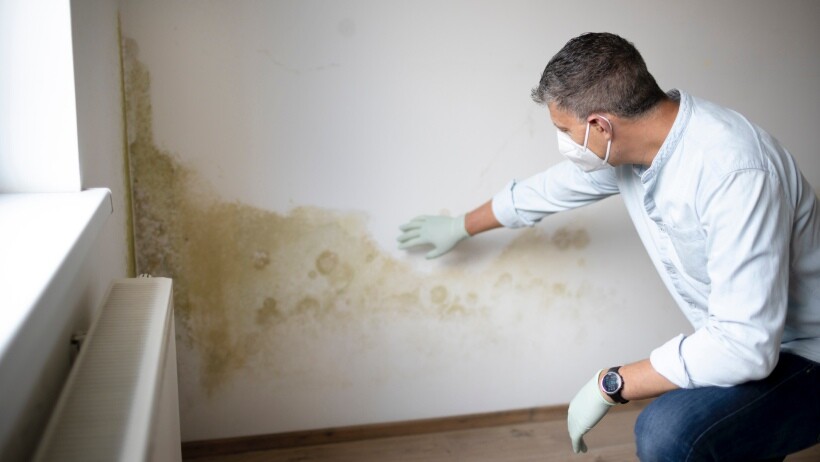
Recognizing the signs of water-damaged insulation is the first step. Look for discoloration, a musty odor, sagging, or visible mold. For more details on identifying water damage in building materials, see this comprehensive guide on what water damage looks like.
Safety Precautions Before Starting Repairs
Handling wet insulation can expose you to mold spores, bacteria, and irritants. Prioritize safety by following these steps:
- Turn off electricity in the affected area to prevent electrical hazards.
- Wear protective gear: gloves, goggles, long sleeves, and a NIOSH-approved respirator.
- Ventilate the space to reduce airborne contaminants.
- Seal off the work area with plastic sheeting to prevent the spread of dust and mold.
If you suspect extensive mold growth or if the water damage is severe, consider consulting a professional remediation service. For tips on disinfecting after water events, our water damage disinfecting guide covers best practices and safety tips.
Steps for Repairing Insulation After Water Damage
Once you’ve ensured safety, follow these steps to restore your insulation:
1. Assess the Extent of the Damage
Carefully inspect all areas where water may have penetrated. Use a moisture meter to check for hidden dampness behind walls or under floors. Mark all affected sections for removal.
2. Remove Wet or Moldy Insulation
Cut away drywall or paneling as needed to access the insulation. Place all wet or contaminated material in heavy-duty plastic bags for disposal. Avoid compressing the insulation, as this can release mold spores into the air.
3. Dry the Area Thoroughly
Before installing new insulation, ensure that the cavity is completely dry. Use fans, dehumidifiers, and open windows to speed up drying. Check for lingering moisture with a meter, especially in hidden spaces.
4. Clean and Disinfect
Clean all exposed framing and surfaces with a disinfectant to kill mold spores and bacteria. Allow everything to dry fully before proceeding.
5. Install New Insulation
Choose insulation that matches the original R-value and fits snugly in the cavity. For areas prone to moisture, consider materials with mold-resistant properties. Replace drywall or paneling and finish as needed.
When to Replace vs. Restore Insulation
Not all wet insulation needs to be replaced. The decision depends on the type of insulation, the duration of exposure, and the presence of contaminants:
- Replace if insulation is saturated for more than 48 hours, shows signs of mold, or is cellulose-based.
- Restore if fiberglass batts are only slightly damp and can be dried quickly, with no visible mold or odor.
- Spray foam may only require drying if the water exposure was brief and there’s no evidence of mold.
When in doubt, err on the side of caution—removing questionable insulation is safer than risking hidden mold growth.
Preventing Future Water Damage to Insulation
After completing repairs, take steps to prevent a repeat incident:
- Address the source of water intrusion, such as roof leaks, faulty plumbing, or poor drainage.
- Improve ventilation in attics, crawl spaces, and basements.
- Install vapor barriers where appropriate.
- Inspect insulation regularly for signs of moisture or deterioration.
For additional strategies, see our overview of water damage repair methods for every home.
Common Mistakes to Avoid During Insulation Repairs
Homeowners often make errors that can lead to recurring problems or health risks. Avoid these pitfalls:
- Leaving damp insulation in place, hoping it will dry on its own.
- Failing to address the root cause of the water intrusion.
- Neglecting to wear proper protective gear during removal and installation.
- Reinstalling drywall before the area is fully dry.
- Skipping the use of a moisture meter to confirm dryness.
Taking a thorough, safety-focused approach ensures your repairs last and your indoor air quality remains healthy.
FAQ: Insulation and Water Damage
How can I tell if my insulation needs to be replaced after water exposure?
Look for visible mold, a persistent musty smell, or insulation that feels heavy and clumped. If the material has been wet for more than 48 hours or is cellulose-based, replacement is usually necessary.
Is it safe to dry out insulation in place?
In some cases, slightly damp fiberglass batts can be dried if removed from the cavity and spread out in a well-ventilated area. However, insulation that has been soaked or shows signs of mold should always be discarded to prevent health risks.
What should I do if I find mold during insulation repairs?
Stop work immediately, seal off the area, and consult a mold remediation professional. Exposure to mold spores can cause respiratory issues and other health problems, so proper containment and removal are essential.
Can I reuse insulation after it dries?
Only reuse insulation if it is fiberglass, was minimally affected, and shows no signs of mold or odor after thorough drying. Cellulose and foam insulations generally should not be reused after water exposure.
How do I prevent future water damage to my insulation?
Regularly inspect your home for leaks, maintain gutters and downspouts, and ensure proper ventilation in attics and crawl spaces. Address any water issues promptly to protect your insulation and building structure.