
Repairing Drywall After Water Damage: A Step-by-Step Guide
· Ethan Williams
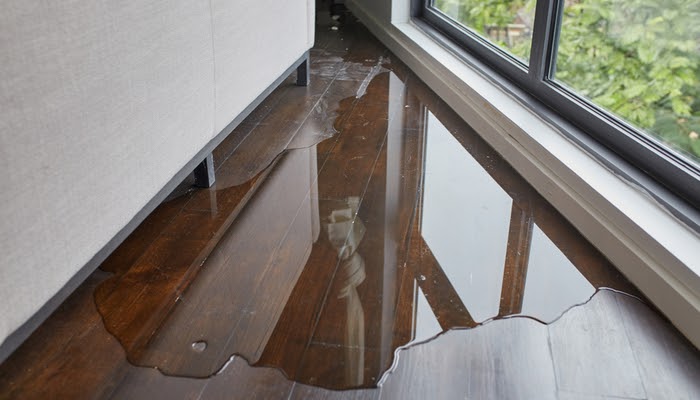
Water damage can strike unexpectedly, leaving homeowners with unsightly stains, weakened walls, and the risk of mold growth. Repairing drywall after water damage is a crucial task to restore both the appearance and safety of your living space. Whether the issue stems from a burst pipe, roof leak, or flooding, addressing the problem promptly can prevent further deterioration and costly repairs.
This guide will walk you through the essential steps to fix water-damaged drywall, from initial assessment to finishing touches. Along the way, you'll discover tips for identifying hidden issues, ensuring a thorough restoration, and maintaining a healthier indoor environment. For those also dealing with ceiling issues, you may find our resource on repairing ceilings after water damage helpful as well.
Understanding the Impact of Water on Drywall
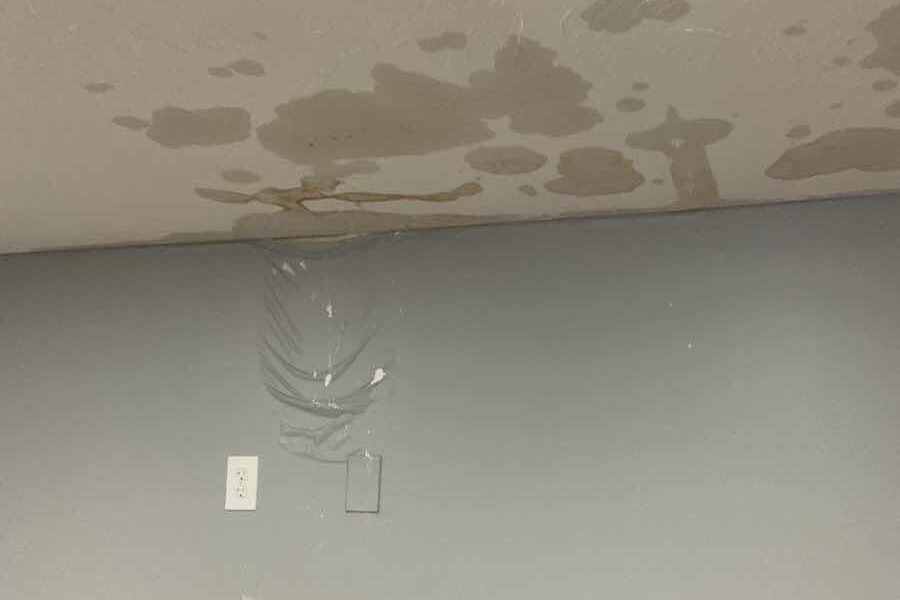
Drywall is particularly vulnerable to moisture. When exposed to water, it can swell, sag, and lose its structural integrity. In severe cases, the paper facing may peel away, and mold can develop within days. Recognizing the signs of water damage early is key to minimizing the extent of repairs needed.
Common indicators include:
- Discoloration or staining on walls or ceilings
- Soft, spongy, or bubbling surfaces
- Visible mold or mildew growth
- Musty odors
For tips on spotting hidden issues before they escalate, check out this guide to detecting hidden water damage signs.
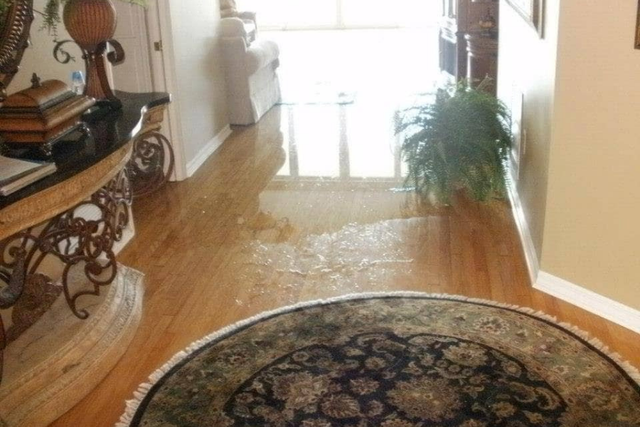
Preparation: Safety and Tools for Drywall Restoration
Before starting any repairs, prioritize safety. Water-damaged drywall can harbor mold and bacteria, so always wear gloves, a dust mask, and eye protection. If the affected area is extensive or contaminated with sewage, consider consulting a professional.
Gather these essential tools and materials:
- Utility knife and drywall saw
- Measuring tape and straightedge
- Replacement drywall panels
- Joint compound and drywall tape
- Sandpaper or sanding block
- Primer and paint
- Protective gear (gloves, mask, goggles)
Before you begin, ensure the source of the water has been identified and fixed. Skipping this step can lead to recurring damage and wasted effort.
Step 1: Assessing the Extent of Water Damage
Start by inspecting the affected area. Press gently on the drywall—if it feels soft, crumbly, or gives way, it will need to be removed. Use a moisture meter if available to check for hidden dampness behind the surface.
Mark the boundaries of the damaged section with a pencil. If mold is present, the removal area should extend at least 12 inches beyond visible growth to ensure all contaminated material is eliminated.
Step 2: Removing Damaged Drywall Safely
Use a utility knife or drywall saw to cut out the damaged section. Cut along the studs for easier installation of the new panel. Remove any insulation behind the drywall if it is wet or moldy, and allow the cavity to dry completely before proceeding.
Dispose of all contaminated materials in sealed plastic bags to prevent the spread of mold spores. If you notice extensive mold or structural issues, pause and consult a remediation specialist.
Step 3: Drying and Disinfecting the Area
Allow the wall cavity to dry thoroughly. Use fans, dehumidifiers, or open windows to speed up the process. This step is critical to prevent future mold growth. Once dry, disinfect the exposed framing and surrounding area with a mold-killing solution.
For additional guidance on cleaning and safety, see our water damage disinfecting guide.
Step 4: Installing New Drywall
Measure and cut a new piece of drywall to fit the opening. Secure it to the wall studs using drywall screws, ensuring the panel is flush with the existing surface. If the repair area is small, you can use a drywall patch kit.
Apply drywall tape over the seams, then cover with joint compound. Feather the edges to blend with the surrounding wall. Allow the compound to dry, then sand smooth. Repeat with a second coat if necessary for a seamless finish.
Step 5: Priming, Painting, and Final Touches
Once the patched area is smooth and dust-free, apply a stain-blocking primer to prevent any residual discoloration from bleeding through. After the primer dries, paint the area to match the rest of the wall. For best results, use the same type and sheen of paint as the original surface.
Inspect the repair for any imperfections. Touch up as needed to achieve a uniform appearance. The wall should now be structurally sound and visually restored.
Preventing Future Water Damage to Drywall
Prevention is always better than cure. Regularly inspect your home for leaks, especially around windows, roofs, and plumbing fixtures. Maintain gutters and downspouts to direct water away from your foundation. Address any signs of moisture promptly to avoid recurring issues.
Water damage can also contribute to health risks. Learn more about the health effects of water damage and how to keep your home safe.
Common Mistakes to Avoid During Drywall Repairs
- Skipping the drying process, leading to hidden mold growth
- Failing to fix the underlying cause of the water intrusion
- Using improper materials or techniques for patching
- Neglecting to prime before painting, resulting in stains reappearing
By following the correct steps and avoiding these pitfalls, you can ensure a lasting repair and safeguard your home’s value.
FAQs About Fixing Water-Damaged Drywall
How soon should I repair drywall after water exposure?
Act quickly—ideally within 24 to 48 hours. The longer drywall stays wet, the higher the risk of mold and structural damage. Prompt action minimizes repair costs and health risks.
Can I repair small water stains without removing the drywall?
If the area is small and the drywall remains firm, you may be able to clean, dry, and repaint the surface. However, if the drywall feels soft or shows signs of mold, removal and replacement are necessary.
What should I do if I find mold during the repair process?
Stop work immediately and assess the extent of the mold. Small patches can often be cleaned with a mold-killing solution, but extensive growth may require professional remediation. Mold can pose serious health risks, so never ignore it.
Is it safe to live in a home with water-damaged drywall?
Prolonged exposure to wet or moldy drywall can lead to respiratory issues and other health concerns. For more information, see our article on water damage and respiratory issues.
How can I prevent allergies related to water damage?
Promptly repairing water-damaged drywall and addressing moisture sources reduces the risk of mold and allergens. For further advice, explore our resource on water damage and allergies.