
Repairing Floors After Water Damage: Assessment & Restoration
· Ethan Williams
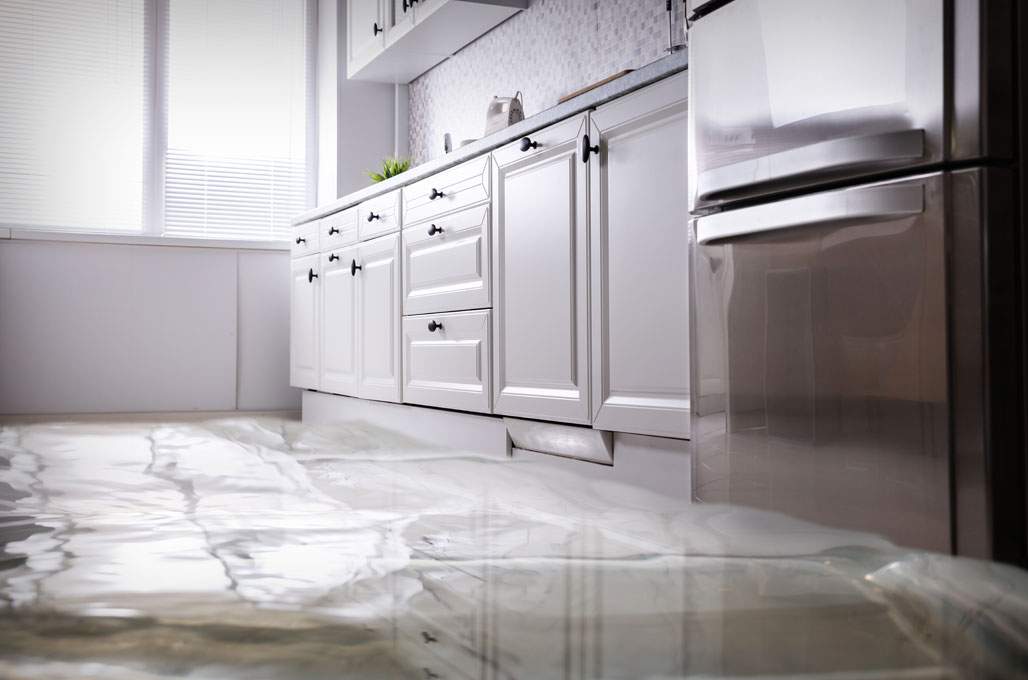
Water intrusion can quickly turn a solid, attractive floor into a source of stress and costly repairs. Whether the cause is a burst pipe, flooding, or a leaking appliance, repairing floors after water damage requires a careful approach to minimize further issues and restore your living space. Understanding the assessment and restoration process is essential for homeowners and property managers who want to protect their investment and maintain a healthy environment.
Before diving into the steps for restoring damaged flooring, it’s important to recognize that water can affect different materials in various ways. Hardwood, laminate, tile, and carpet each have unique vulnerabilities and restoration needs. Acting quickly and methodically increases the chances of saving your floors and preventing secondary problems like mold growth or structural weakening.
It’s also critical to consider the broader effects of moisture in your home. For example, if you’re dealing with ceiling issues as well, you may find guidance in resources like repairing ceilings after water damage, which covers related restoration challenges.
Identifying the Extent of Floor Water Damage
The first step in any restoration project is a thorough assessment. Water can seep beneath the surface, making it difficult to judge the full extent of the problem at a glance. Look for visible signs such as:
- Warping, buckling, or cupping of wood planks
- Discoloration or staining
- Soft spots or sagging areas
- Mold or mildew odors
- Peeling, bubbling, or cracking in laminate or vinyl
In some cases, you may need to lift a section of flooring or use a moisture meter to check for hidden dampness. If the water source is contaminated—such as from sewage or flooding—special precautions are necessary to protect your health and safety. For more on contamination categories and risks, see resources on water damage contamination risks.
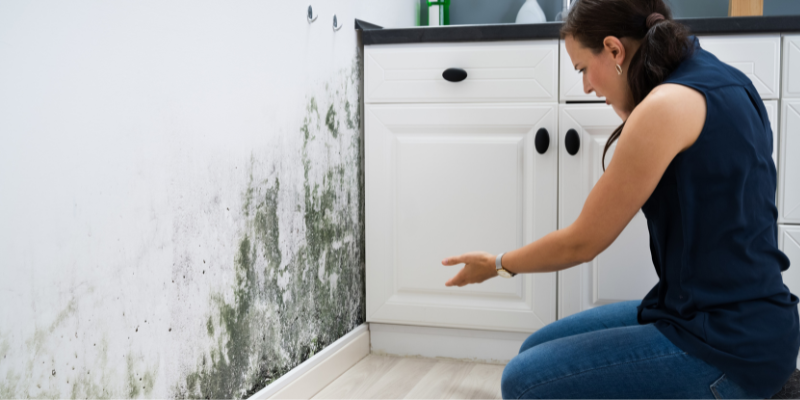
Immediate Steps for Floor Water Damage Restoration
Once you’ve identified the affected areas, it’s crucial to act quickly. The longer moisture remains, the greater the risk of permanent damage and mold growth. Here’s what to do right away:
- Stop the source: Shut off water supply lines or address the cause of flooding.
- Remove standing water: Use mops, towels, or a wet/dry vacuum to extract as much water as possible.
- Move furniture and rugs: Clear the area to prevent further staining and allow for thorough drying.
- Increase ventilation: Open windows and doors, and use fans or dehumidifiers to promote air circulation.
For large-scale flooding or contaminated water, professional help is often necessary. Restoration specialists have the tools and expertise to safely dry and disinfect affected areas, reducing the risk of long-term issues.
Assessing Floor Types and Restoration Options
Different flooring materials respond to water exposure in unique ways. Here’s how to approach restoration based on the type of floor:
Hardwood and Engineered Wood
Wood floors are particularly vulnerable to water. Prolonged exposure can cause warping, cupping, or splitting. If caught early, surface moisture can sometimes be dried with fans and dehumidifiers. Severely damaged boards may need to be replaced, and refinishing may be required to restore appearance. Mold growth beneath the boards is a serious concern and should be addressed promptly.
Laminate and Vinyl
These materials often have a fiberboard core that absorbs water quickly. Swelling, bubbling, and separation are common signs of damage. In most cases, affected planks or tiles must be removed and replaced, as the material cannot be restored once saturated.
Tile and Stone
While ceramic and stone are water-resistant, the subfloor and grout can be compromised by moisture. Inspect for loose tiles, cracks, or discoloration. Drying the subfloor is essential before reinstallation. Damaged grout should be removed and replaced to prevent future leaks.
Carpet and Padding
Carpet can sometimes be salvaged if water is clean and extraction occurs quickly. However, the padding underneath often retains moisture and may need to be replaced. Professional cleaning and drying are recommended to prevent mold and odors.
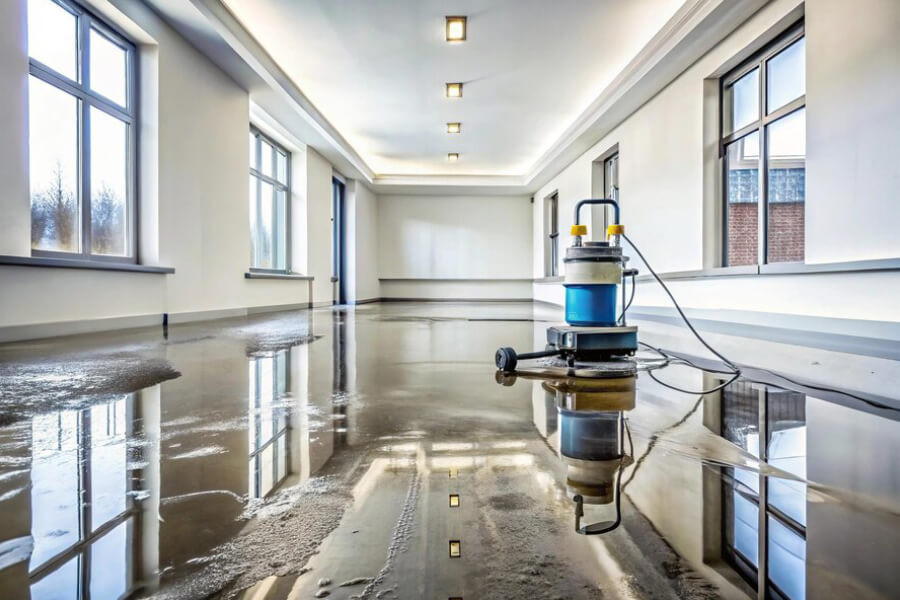
Drying and Dehumidification: Key to Floor Recovery
Effective drying is the foundation of successful floor restoration. After removing surface water, use high-powered fans and dehumidifiers to draw out moisture from flooring, subfloors, and surrounding structures. This process can take several days, depending on the extent of the damage and environmental conditions.
Monitor humidity levels and check for signs of mold or persistent dampness. If you notice musty odors or visible growth, consult a professional immediately. Unresolved moisture can lead to health problems, including water damage and respiratory issues and health effects of water damage.
Repair and Replacement: Restoring Your Floors
Once the area is completely dry, assess which sections of the floor can be salvaged and which require replacement. For hardwood, sanding and refinishing may restore minor damage. Severely warped or rotted boards should be replaced. Laminate, vinyl, and carpet usually require removal of affected sections, with new material installed to match the existing floor as closely as possible.
Tile floors may need re-grouting or replacement of loose tiles. Always inspect the subfloor for structural integrity before installing new flooring. If the subfloor is compromised, it must be repaired or replaced to prevent future problems.
For a deeper understanding of the causes behind such incidents, you can review common causes of water damage in homes to help prevent future occurrences.
Preventing Future Water Damage to Floors
Prevention is the best defense against costly repairs. Consider these strategies to protect your floors:
- Regularly inspect plumbing, appliances, and roofing for leaks
- Install water alarms and automatic shutoff valves
- Seal grout lines and use water-resistant finishes on wood floors
- Maintain gutters and downspouts to direct water away from your home
- Address spills and leaks immediately to prevent seepage
Proactive maintenance and quick action are key to minimizing the impact of water on your flooring and overall property.
Frequently Asked Questions
How soon should I start drying my floors after water exposure?
Begin the drying process as soon as possible—ideally within 24 hours. The faster you remove moisture, the better your chances of saving the floor and preventing mold growth.
Can I repair water-damaged floors myself, or should I hire a professional?
Minor incidents involving clean water may be manageable for a skilled DIYer. However, extensive damage, contaminated water, or hidden moisture often require professional assessment and restoration to ensure safety and effectiveness.
What are the health risks of not properly repairing water-damaged floors?
Unaddressed moisture can lead to mold growth, which may cause respiratory issues, allergies, and other health concerns. Damaged floors can also compromise structural integrity, increasing the risk of accidents and further property loss.
How do I know if my subfloor is affected?
Signs of subfloor damage include persistent dampness, sagging, or a musty odor even after the surface appears dry. Lifting a section of flooring or using a moisture meter can help determine if further repairs are needed.
Conclusion
Addressing repairing floors after water damage requires a prompt, informed approach to assessment, drying, and restoration. By understanding the unique needs of your flooring type and acting quickly, you can minimize damage, protect your investment, and maintain a healthy home environment. For related concerns, such as allergies triggered by moisture, see our guide on water damage and allergies for practical solutions.