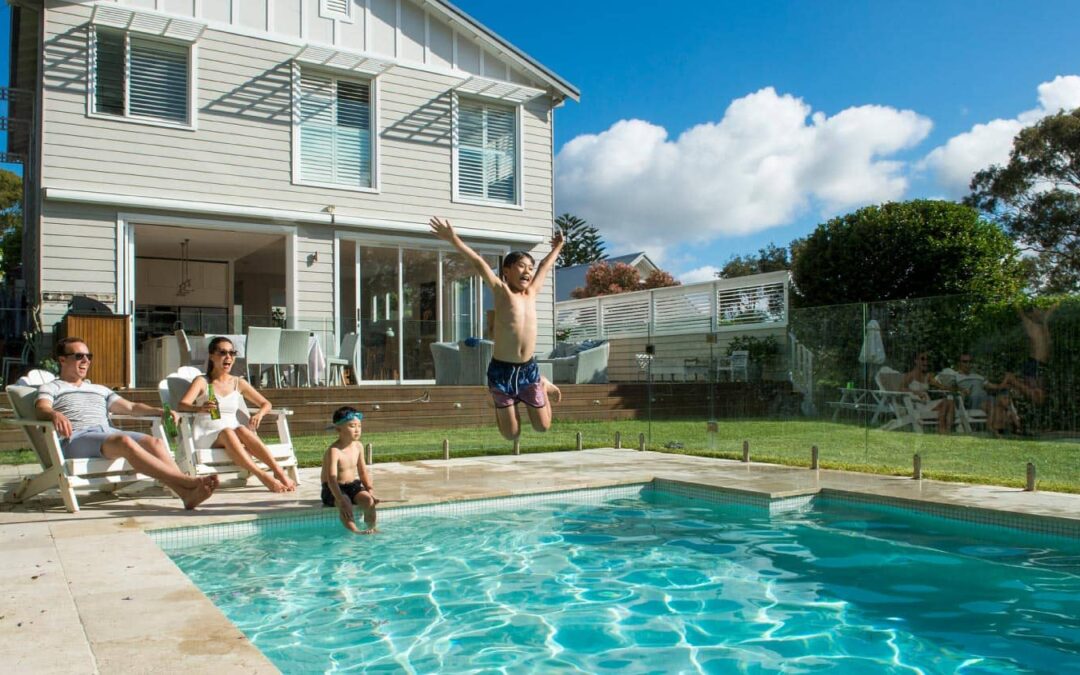
by A.greenboim | Apr 21, 2025 | Blog
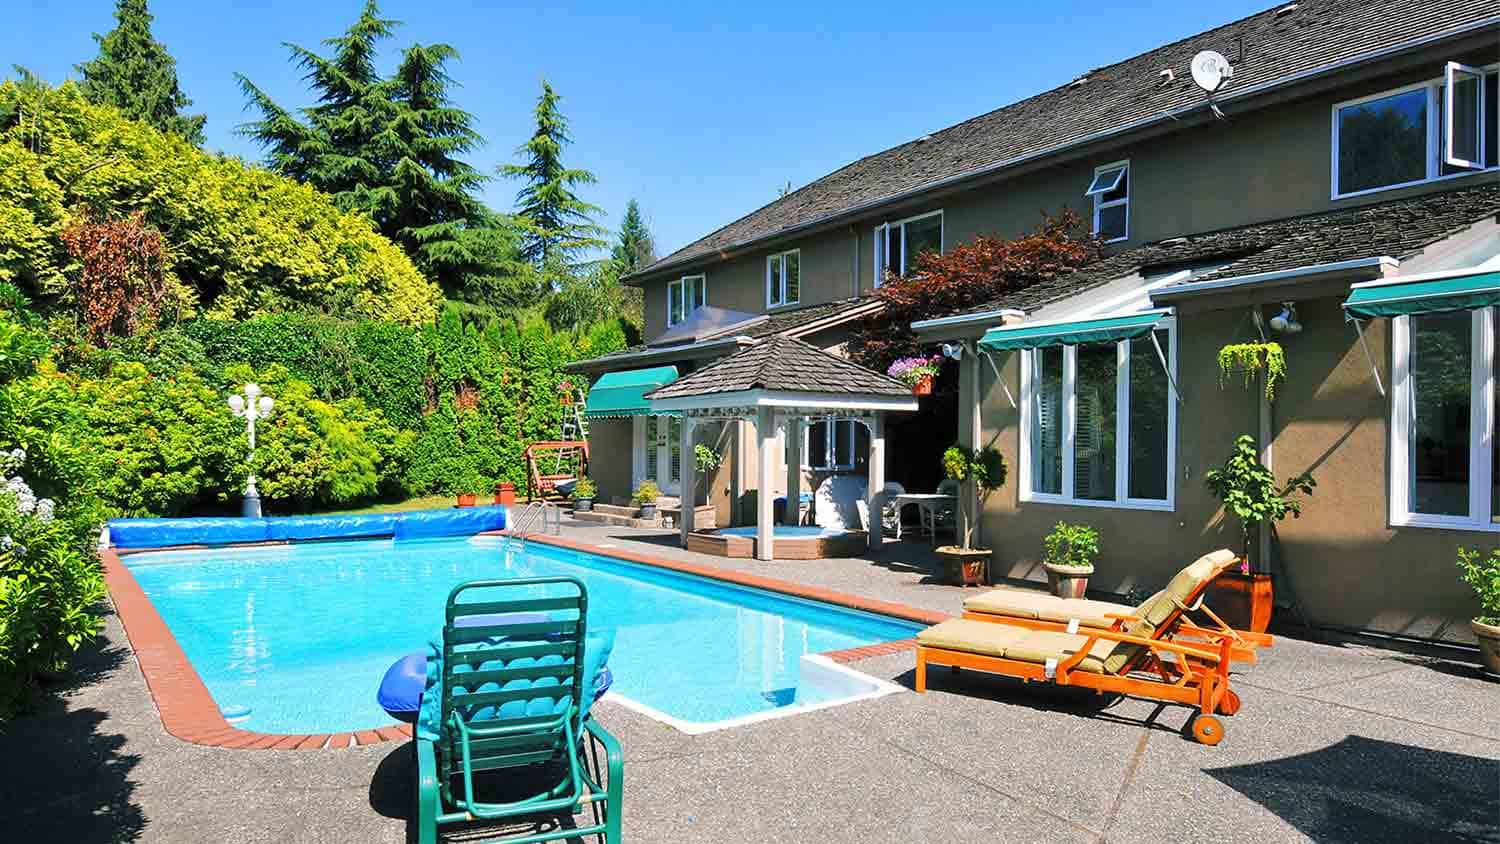
Maintaining the right chemical balance in your swimming pool is essential for ensuring a safe and enjoyable swimming experience. In this article, we will explore how to lower pH and alkalinity in pool water effectively. By understanding the chemistry behind pool water and addressing common issues, you can keep your pool in pristine condition for all to enjoy.
Understanding Pool Chemistry
The Importance of pH Balance
The pH level is a measure of how acidic or basic the pool water is. Ideally, the pH should be between 7.2 and 7.8. This range is crucial because it ensures the effectiveness of chlorine, prevents scaling, and avoids skin irritation.
The Role of Alkalinity
Total alkalinity acts as a buffer for pH levels. It helps stabilize pH fluctuations and should be maintained between 80 and 120 parts per million (ppm). Proper alkalinity levels prevent the pH from swinging dramatically, which can lead to a host of pool-related issues.
Steps to Lower pH and Alkalinity
Testing the Water
Before any adjustment, test your pool water using a reliable test kit. This will help you accurately measure the current pH and alkalinity levels.
Using Muriatic Acid
To lower both pH and alkalinity, muriatic acid is commonly used. Carefully add the acid to the pool, following the package instructions. Be sure to wear protective gear and add acid to water, not the other way around.
Safety Precautions
When handling chemicals like muriatic acid, always wear gloves and goggles. Ensure that the area is well-ventilated to avoid inhaling fumes.
Using Dry Acid
Another option for adjusting pH and alkalinity is dry acid. It’s granulated, making it easier to handle and store than liquid acids. Add it slowly to the pool water, allowing it to dissolve and circulate.
Maintaining Pool Water Quality
The Role of Aeration
Aeration can help in bringing pH levels down naturally over time. Install water features like fountains or use pool aerators to increase oxygen levels in the water.
Regular Monitoring
Consistent testing and monitoring of pool water are crucial. It allows for timely adjustments and the ability to prevent problems before they worsen.
Common Issues and Solutions
High Alkalinity Challenges
High alkalinity levels can make it difficult to adjust pH and can cause scaling. Following the correct dosage of acid, as per your pool size, can help in managing this issue effectively.
Addressing Cloudy Water
If your pool remains cloudy despite adjustments, consider shocking your pool and running the filter continuously until the issue resolves.
Conclusion
Maintaining optimal water quality is crucial for the longevity of your pool and the health of its users. Understanding how to lower pH and alkalinity in pool is a vital skill for any pool owner, ensuring that your pool remains a source of enjoyment and relaxation.
Frequently Asked Questions
What pool chemicals lower pH?
Muriatic acid and dry acid are commonly used to lower pH levels in pools.
Is it safe to swim after adding acid?
It’s best to wait at least 4-6 hours after adding acid before swimming. Ensure that the water has circulated well and test it accordingly.
How often should pool water be tested?
Ideally, test your pool water at least once a week during swimming season to maintain proper chemical balance.
This article contains affiliate links. We may earn a commission at no extra cost to you.
by A.greenboim | Apr 21, 2025 | Blog
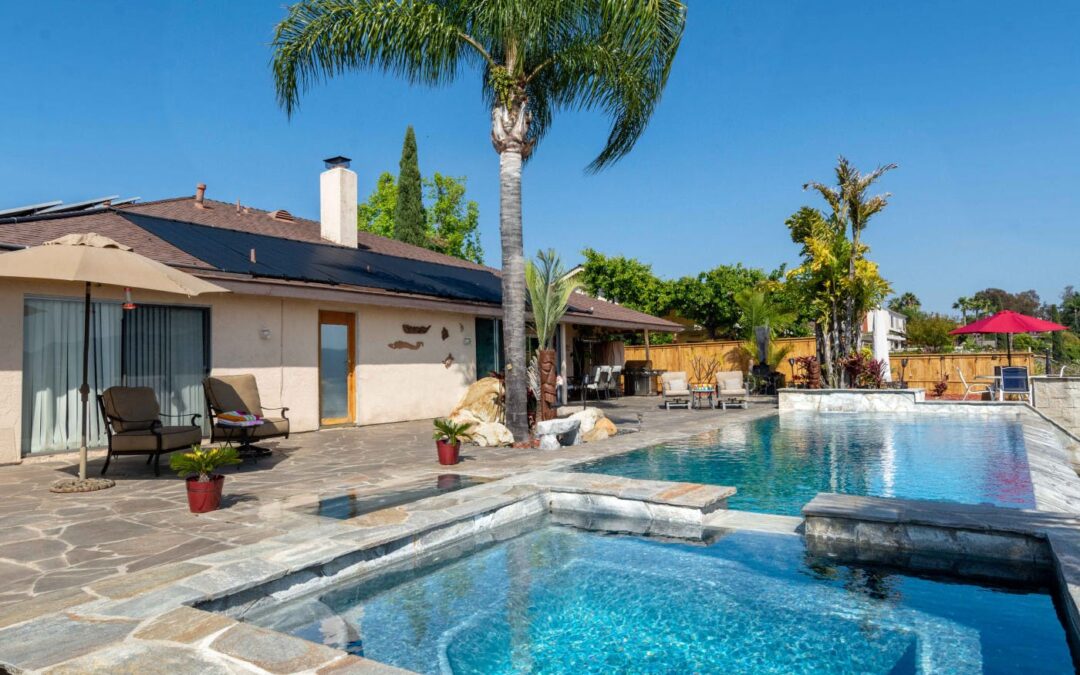
The question ‘how long does it take to heat a pool’ is one that many pool owners and prospective buyers ask. Whether you’re looking to enjoy a swim in colder months or simply want the water at a comfortable temperature, understanding the dynamics of pool heating can make a significant difference. In this article, we’ll discuss various factors influencing the time it takes to heat your pool and how you can optimize this process.
Understanding the Basics of Pool Heating
Heating a pool isnt as straightforward as it seems. Several elements play a crucial role in determining the time it takes to heat the water. From the type of pool heater to the size of your pool, each factor contributes to the overall efficiency and effectiveness of the heating process.
Let’s delve into these elements and how they impact your heating experience.
Factors Affecting Pool Heating Time
1. Type of Pool Heater
The type of heater you use can drastically change the pool’s heating time. There are primarily three types of pool heaters: gas, electric heat pump, and solar.
- Gas Heaters: Usually, the fastest option, gas heaters can warm your pool quickly but may not be the most energy-efficient or cost-effective choice for long-term use.
- Electric Heat Pumps: These are more energy-efficient than gas heaters but can take longer to heat the pool, especially when the ambient temperature is low.
- Solar Heaters: Environmentally friendly and efficient in sunny conditions, solar heaters can take the longest time to heat a pool, depending on the amount of sunlight available.
2. Size and Volume of the Pool
As expected, the larger the pool, the longer it will take to heat. The volume of water directly influences the heating rate. Larger pools require more energy and time to reach the desired temperature compared to smaller ones.
3. Ambient Temperature
The outside air temperature can have a significant effect on the heating time. Pool heaters work harder and longer when the surrounding air is cold, increasing the time needed to heat the water.
4. Pool Cover Efficiency
Using a pool cover can reduce heat loss. Pool covers help trap the heat inside and prevent it from escaping into the environment. This factor significantly speeds up the heating process.
5. Thermal Mass and Pool Construction
The material and construction of your pool also influence heat absorption. Materials like concrete have a higher thermal mass that can absorb and retain heat better, affecting heating time. For more in-depth information about enhancing a pools value, explore this detailed read on pool value.
Strategies to Optimize Pool Heating
1. Usage of Pool Covers
A quality pool cover reduces evaporation, and conserves energy, maintaining a stable temperature.
2. Scheduling Heating Times
Set your heater to operate during off-peak electricity hours to reduce energy costs without compromising comfort.
3. Regular Maintenance Checks
Ensure your heating system is well-maintained to operate at optimal efficiency. For detailed insights into maintaining equipment like drilling machines, check the guide on drill press usage.
Choosing the Right Pool Heater
Determining which pool heater is right for you depends on several factors including budget, how quickly you need your pool heated, and local energy costs.
1. Cost Considerations
Solar Heaters have high initial costs but may save money over time due to low operational costs. Gas heaters incur more ongoing expenses.
2. Environmental Impact
Solar heaters offer a sustainable choice, whereas gas and electric heaters rely on non-renewable energy sources.
Innovations in Pool Heating Technology
Advancements in technology have led to more efficient heating systems with lower energy demands. Companies are now integrating smart technologies and using data analytics to improve the performance of pool heating systems. To explore how similar technologies revolutionize the detection of water leaks, visit leak detection innovations.
Future Trends in Pool Heating
The future of pool heating is leaning toward increased efficiency and lower environmental impact with the development of zero-energy pool heating solutions.
Conclusion
Understanding how long it takes to heat a pool involves considering multiple dynamic factors. By examining the type of heater, ambient conditions, and innovative solutions, you can achieve a pool temperature that suits your needs perfectly.
FAQs
1. How can I reduce the heating time for my pool?
Use a pool cover to minimize heat loss combined with regular maintenance of your heating system.
2. What is the most efficient pool heating method?
For sustainable and energy-efficient heating, solar heaters are ideal, while gas heaters provide faster results.
3. Why is my pool taking longer to heat than expected?
Factors such as a malfunctioning heating system, heat loss due to wind, or inadequate coverage might be affecting heating time.
This article contains affiliate links. We may earn a commission at no extra cost to you.

by A.greenboim | Apr 21, 2025 | Blog
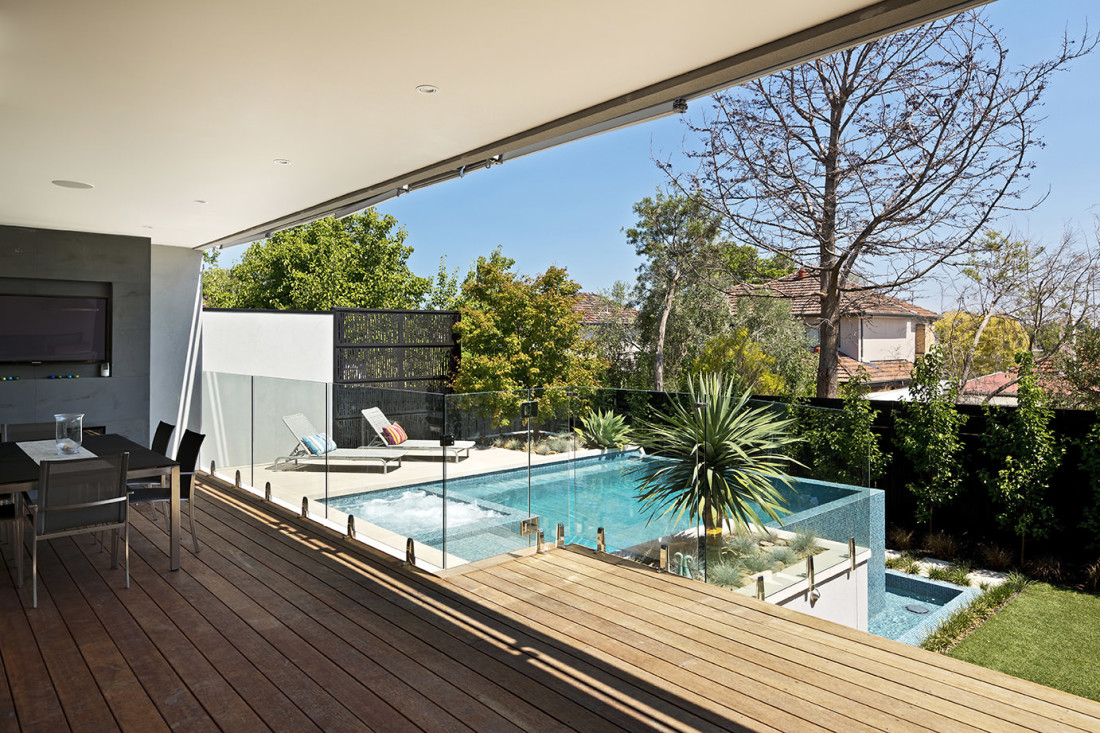
Having a swimming pool is a delightful addition to any home, providing a perfect spot for relaxation and gatherings. To keep your pool in pristine condition, maintaining the water chemistry is essential. A common issue pool owners face is high alkalinity. Learning how to lower alkalinity in pool can prevent problems such as cloudy water and clogged filters.
The primary goal is to maintain a balanced environment that ensures the safety of swimmers and prolongs the pool’s lifespan. Understanding the role of alkalinity, its causes, and how to manage it effectively can save you from unnecessary expenses and headaches.
Understanding Alkalinity in Pools
Before delving into how to lower alkalinity in pool, it’s crucial to understand what alkalinity is. Alkalinity refers to the ability of water to neutralize acids, functioning as a buffer that maintains stable pH levels. It is measured in parts per million (ppm), with the ideal range between 80-120 ppm.
Why is High Alkalinity a Problem?
High alkalinity can lead to several issues, making it essential to know how to lower alkalinity in pool. It can cause the pH levels to rise, resulting in cloudy water, scaling on pool surfaces, and reduced effectiveness of sanitizers.
Causes of High Alkalinity
High alkalinity may be due to various factors such as hard water, too much baking soda used for maintenance, or environmental factors like rain that affect the water chemistry of your pool.
Hard Water
Areas with hard water have high levels of calcium and magnesium, which can increase a pool’s alkalinity over time.
Excess Baking Soda
Using too much baking soda for pH adjustment can inadvertently raise the pool’s alkalinity.
Steps to Lower Alkalinity in Pool
Managing alkalinity involves specific actions. Heres a step-by-step guide:
Test Your Pool Water
Testing is crucial to determine the current alkalinity. Use a reliable test kit or digital tester for accuracy.
Use Muriatic Acid
Muriatic acid is effective in reducing alkalinity. Follow these steps:
- Ensure your pool’s pump is running.
- Slowly add muriatic acid to the deep end.
- Allow the water to circulate and retest after four to six hours.
Aerate the Pool Water
Improving aeration can gradually adjust the pool’s pH levels without affecting alkalinity significantly.
Maintaining Ideal Pool Chemistry
After adjusting the alkalinity, maintaining balanced water chemistry is crucial to prevent reoccurrence. Regular testing and adjustments are essential.
Use a Pool Cover
Prevent debris and rainwater from affecting your pool’s chemistry by using a cover.
Regular Maintenance Checks
Regular checks ensure your pool stays within ideal ranges for pH and alkalinity.
Benefits of Proper Alkalinity Management
Knowing how to lower alkalinity in pool and maintaining it can lead to:
- Clear and safe swimming environment.
- Increased longevity of pool equipment.
- Improved effectiveness of pool sanitizers.
Benefits to Home Value
A well-maintained pool not only provides aesthetic appeal but can also increase your home’s value. To learn more about how a pool can enhance your property, visit here.
Conclusion
Mastering how to lower alkalinity in pool is a valuable skill for every pool owner. It ensures a safe swimming environment, extends equipment life, and enhances the pool’s overall appearance.
Frequently Asked Questions
Why is Testing Alkalinity Important?
Testing helps maintain pool balance, preventing problems like equipment corrosion and skin irritation.
How Often Should I Test Alkalinity?
Test your pool water at least once a week or more during heavy usage.
Can I Use Household Items to Adjust Alkalinity?
While products like vinegar are used in homes, professional products are recommended for effective pool maintenance.
This article contains affiliate links. We may earn a commission at no extra cost to you.

by A.greenboim | Apr 21, 2025 | Blog
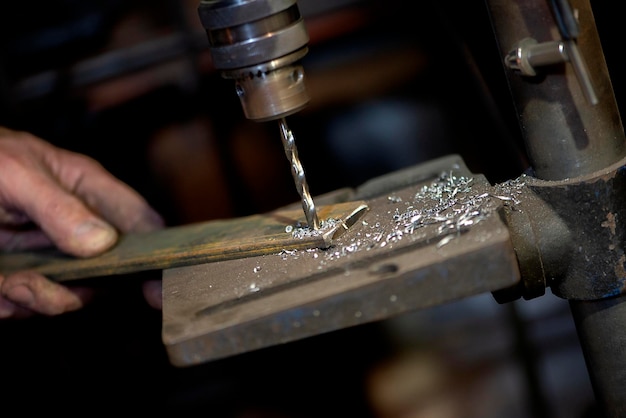
Learning how to use a drill press efficiently is paramount in any workshop setting, especially for entrepreneurs and business leaders venturing into production or crafts. A drill press is not just a simple tool; it’s a gateway to precision and efficiency in your projects.
Understanding how to use a drill press safely and effectively can drastically improve your work quality and safety. This article aims to guide you through the essential knowledge required to master this tool.
Understanding the Drill Press
To start with, let’s understand what a drill press is. A drill press is a stationary tool designed to drill precise holes. It is more accurate than hand-held drills, providing stability and power for consistent drilling.
Parts of a Drill Press
A typical drill press consists of a base, column, table, spindle, and motor. Knowing these parts helps in understanding its operation and maintenance.
Setting Up Your Drill Press
Before diving into how to use a drill press, the setup is crucial. Secure the drill press on a stable surface and ensure it’s level.
Adjusting the Table
The table should be adjusted to the correct height and angle for your workpiece. Using a vice can enhance stability and accuracy.
Choosing the Right Drill Bit
Your choice of drill bit depends on the material you are working with. Each material, be it wood, metal, or plastic, requires specific drill bits for best results.
Drill Bit Types
Remember, using the correct bit not only improves efficiency but also extends the life of your drill press.
Operating the Drill Press
Here’s a step-by-step on how to use a drill press:
- Secure the workpiece on the table.
- Install the appropriate drill bit and adjust the speed.
- Lower the spindle slowly to drill your hole.
- Once done, retract the spindle and turn off the machine.
Safety Precautions
Ensuring safety is paramount. Always wear safety goggles and keep hands clear of moving parts. Ensure your hair and clothing are secured to prevent entanglement.
Refer to this comprehensive safety guide from Harvard.
Maintenance and Care
Regular maintenance extends the life of your drill press. Lubricate moving parts periodically and clean the workspace to prevent dust accumulation.
Common Maintenance Tips
Ensuring sharp and clean drill bits reduces stress on the motor and enhances precision.
Advanced Techniques
Once you’ve mastered the basics, explore advanced techniques like drilling at angles or into tough materials. These require additional skill and sometimes, specialized equipment.
Troubleshooting Common Issues
If you encounter issues like misalignment or inconsistent speed, consult the manufacturer’s guide or seek professional help.
Problem-Solving Tips
Using problem-solving skills effectively can prevent equipment damage and ensure smooth operations.
Improving Efficiency
One can enhance efficiency by regularly updating skills and keeping abreast with the latest in drill press technology. Stay informed about innovations through articles like DripX Leak Detection System.
Concluding Thoughts
Understanding how to use a drill press not only increases productivity but also ensures safety. For those setting up new workshops, additional resources can guide you in selecting the right model.
FAQs
- What is the primary use of a drill press? A drill press is mainly used for drilling precise holes in various materials, providing better accuracy than hand drills.
- How often should drill press maintenance be performed? Regular checks should be done monthly, focusing especially on moving parts and electrical connections.
- Can I use any drill bit on the drill press? No, it’s essential to use drill bits designed for the material you are working on for effective results.
This article contains affiliate links. We may earn a commission at no extra cost to you.

by A.greenboim | Apr 21, 2025 | Blog
Understanding how to cut helical gears in the milling machine can be a transformative skill for individuals aiming to advance their knowledge in machining and manufacturing. This article explores the invaluable techniques required for this intricate task.
As the manufacturing industry continues to grow, more professionals are seeking methods to perfect their skills in gear manufacturing. The ability to cut helical gears accurately can lead to improved machinery performance and, hence, more efficient operations.
Understanding Helical Gears
Helical gears are unique types of gears where the teeth are set at an angle to the axis of rotation. This angle, known as the helix angle, allows for smoother and quieter operation compared to straight-cut gears. These gears are often used in car transmissions as they can handle greater loads and operate more quietly at high speeds.
For entrepreneurs and business leaders, mastering helical gear cutting is crucial, as it allows them to understand and optimize the machinery that drives their business operations forward.
The Importance of Proper Gear Cutting
The precision cutting of helical gears is not just about creating a gear that fits; it determines the functionality and efficiency of an entire system. Improperly cut gears can lead to machinery failure, increased noise, and rapid wear and tear.
Equipment Required for Cutting Helical Gears
The Milling Machine
The key equipment in this process is the milling machine. Its ability to shape various materials into desired geometries makes it indispensable. A milling machine offers flexibility and precision, which are crucial for gear cutting.
Helical Gear Cutters
Specialized gear cutters are essential for helical gears. These tools are specifically designed to create the angle and shape required. Investing in quality gear cutters can significantly impact the quality of the finished product.
Steps to Cut Helical Gears
Setting Up the Milling Machine
Start by mounting the gear blank on the worktable of the milling machine. Secure it firmly to ensure precision. Set the milling machine table at the required helix angle. This is critical as the angle affects the gear’s functionality and performance.
Choosing the Right Cutter
Select a suitable gear cutter based on the specifications of the desired gear. The cutter’s shape should match the gears profile to achieve a perfect cut.
Milling the Gear
With the setup ready, begin the milling process. As the machine operates, it is vital to monitor the cutting speed and feed rate to prevent tool wear. Regular inspection of the gear during the cutting process ensures accuracy and helps make necessary adjustments in real-time.
Common Challenges and Solutions
Tool Wear
A common issue during gear cutting is tool wear, which can lead to inaccuracies. To mitigate this, choose high-quality cutters and perform regular tool checks.
Aligning the Gear Blank
Incorrect alignment can lead to defective gears. Calibration and careful setup of the gear blank can help prevent misalignment issues.
Advanced Tips for Enhanced Gear Cutting
Utilize CAD Software
Computer-Aided Design (CAD) software can be instrumental in planning the design of your helical gears, allowing for advanced precision before the physical cutting takes place.
Regular Maintenance of Machinery
Maintain the milling machine regularly to ensure it operates at peak efficiency. Proper lubrication and service checks can prevent breakdowns and ensure accuracy in gear cutting.
Environmental Considerations
When cutting helical gears, awareness of the environmental impact and waste management is crucial. Employing methods that minimize waste and promote recycling is beneficial.
Conclusion
Mastering the art of how to cut helical gears in the milling machine is a rewarding endeavor. This skill not only advances personal expertise but also contributes significantly to efficient machinery operation, thereby supporting business activities effectively.
For more insight on innovations in manufacturing, consider reading about the award-winning technologies in property management IoT devices or the revolution in leak detection technology.
FAQs
What is the main advantage of helical gears?
Helical gears offer smoother and quieter operation, which is ideal for high-speed applications where noise reduction is critical.
What materials are best for helical gears?
Common materials include steel, cast iron, and brass, depending on the specific application and load requirements.
How often should the milling machine be serviced?
Regular maintenance should be performed based on machine usage, typically every six months, to ensure optimal performance and accuracy.
This article contains affiliate links. We may earn a commission at no extra cost to you.